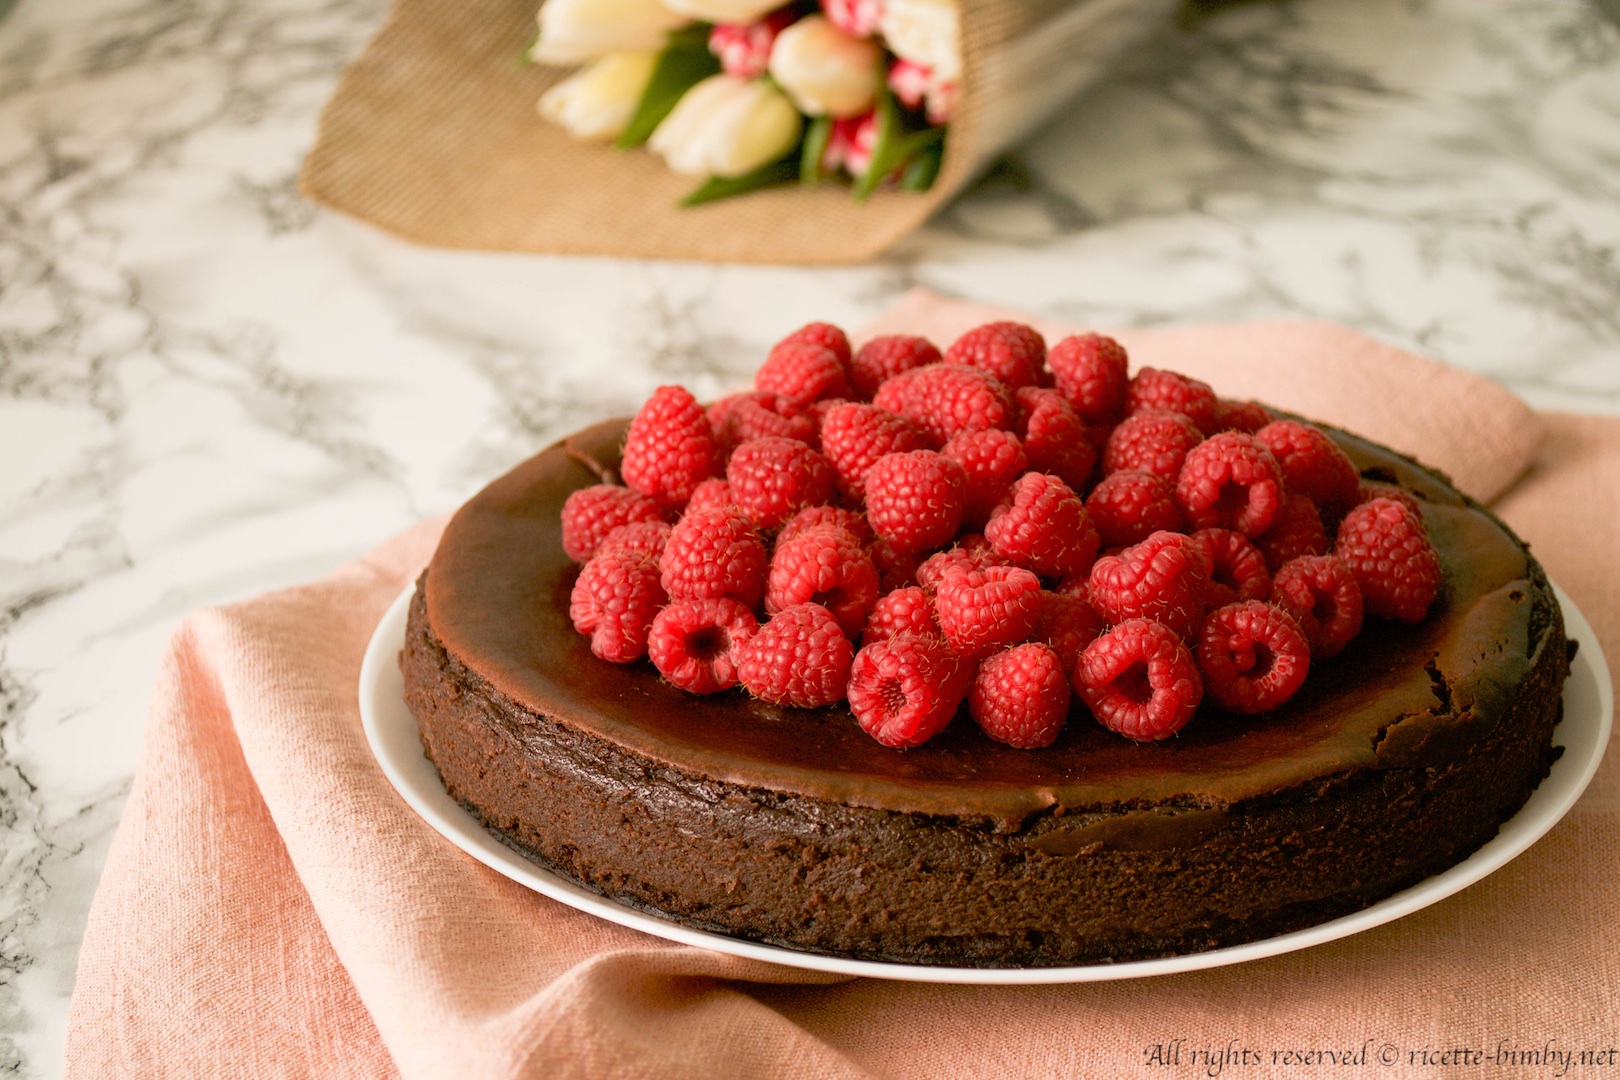
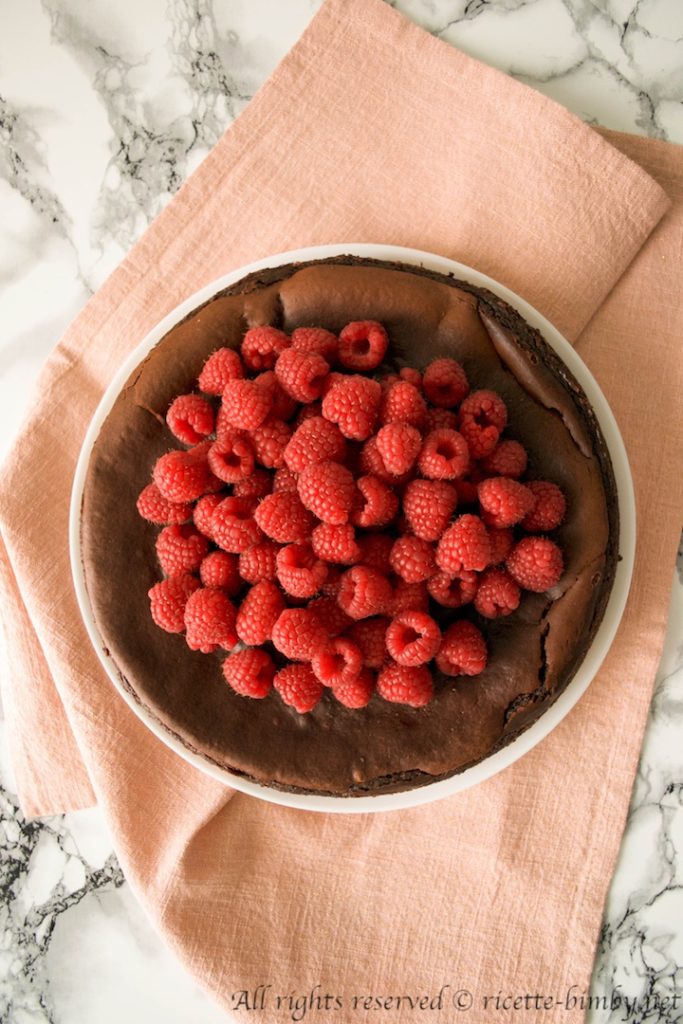
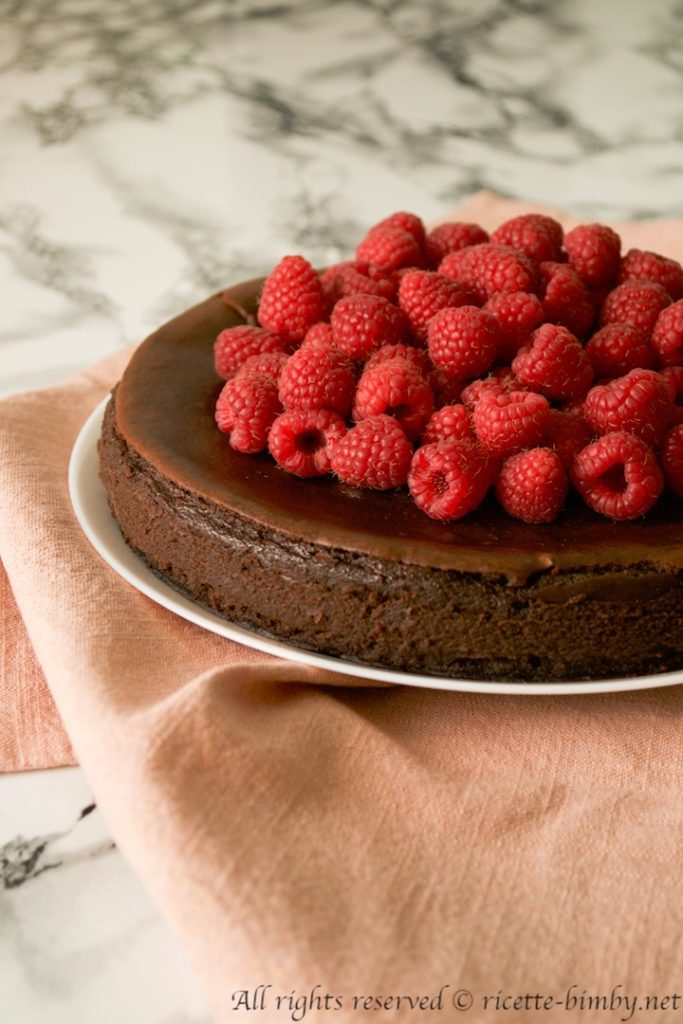
Indulge in the decadent world of Thermomix Chocolate Cheesecake, a creamy and luscious dessert that combines rich chocolate with smooth cheesecake, all easily prepared with your Thermomix.
Chocolate Cheesecake is a delightful blend of chocolate and cheesecake, crafted effortlessly with the help of the Thermomix. It involves a chocolate biscuit base, topped with a creamy cheese mixture and enriched with melted chocolate for that extra richness. Variants include adding flavors like vanilla, mint, or even hazelnut for a personalized touch, or incorporating different types of chocolate such as white or dark chocolate to suit your taste preferences.
Chocolate cheesecake has evolved from the ancient Greek tradition of cheesecakes, which were simple mixes of cheese and honey. Over centuries, cheesecake recipes underwent significant transformations, especially with the addition of chocolate in the 19th century as chocolate became a popular flavor enhancer in America and Europe.
The recipe is by the legendary Martha Stewart and I have only adapted it a bit to my tastes and the thermomix.
To ensure your Thermomix Chocolate Cheesecake turns out flawless, consider these tips:
- Quality of Ingredients: Use high-quality cream cheese and chocolate for a rich and smooth texture.
- Room Temperature Ingredients: Allow your cheese and eggs to come to room temperature to ensure a smoother blend.
- Gentle Mixing: Mix ingredients at a slow speed to avoid incorporating too much air, which can cause cracks.
- Water Bath: Bake your cheesecake in a water bath to help manage the temperature and moisture level, reducing the risk of cracks.
After mastering the Thermomix Chocolate Cheesecake, broaden your culinary horizons with these other cheesecake variations:
- Strawberry Cheesecake
- Lemon Cheesecake
- Classic New York Cheesecake
- Blueberry Cheesecake
Embracing the versatility of the Thermomix allows you to create not only an impeccable Chocolate Cheesecake but also to experiment with a variety of flavors and styles. Enjoy baking and delight in the sumptuous textures and tastes of your creations!
I leave you with the recipe for the thermomix chocolate cheesecake.
See you for the next recipe!
Nea!

Thermomix Chocolate Cheesecake
Ingredients
For the base:
- 160 gr dry chocolate biscuits
- 60 gr butter (melted and cooled)
For the filling:
- 250 gr dark chocolate
- 500 gr cream cheese (philadelphia type) at room temperature
- 180 gr sour cream at room temperature
- 30 gr bitter cocoa powder
- 2 tsp vanilla extract
- 3 eggs at room temperature
For decoration:
- fresh raspberries q. b.
Instructions
For the base:
Put the chocolate chip cookies in the bowl and chop: 10 sec. speed 7.
Gather on the bottom with the help of a spatula and add the melted butter, mix: 10 sec. speed. 4.
Cover the baking tray (diameter of 22 cm), possibly with a zipper, with parchment paper and transfer the mixture obtained by pressing carefully and compacting well with a spoon.
Bake in a preheated oven at 170°C for 10 minutes and let cool.
For the filling:
Melt the dark chocolate in a water bath or microwave oven and let it cool.
In the clean bowl, put the spreadable cheese, work: 1 min. speed 4.
Combine sour cream, eggs, sugar, bitter cocoa and vanilla, mix: 1 min. speed 4.
Remove the mixture well from the walls of the bowl with the help of a spatula, add the melted chocolate and mix again: 1 min. speed 4.
At this point, cover the outside of the pan with aluminum foil and transparent film, this is necessary because the cooking must be done in a water bath and since the tray has a hinged shape, no water should enter the pan.
Pour the cream obtained into the pan over the cookie base.
Place the tray with the cheesecake in a larger pan and pour boiling water into the outermost pan until you reach 2/3 of the inner pan.
Bake in a preheated oven at 170°C for about 50-60 minutes.
Let it cool in the oven turned off and with the door open for about an hour.
Then take it out of the oven and pass a knife around the cake (it will be used to keep the cake from cracking) to remove it from the pan.
Allow to cool completely at room temperature and refrigerate for at least 6 hours (preferably overnight).
Now you can remove the cheesecake from the pan and serve with a cascade of fresh raspberries… Buon appetito!
Recipe Notes
It can be kept in the fridge for 2-3 days closed in an airtight container, take it out 20 minutes before serving it.